Criticality Analysis Part 6 : From Screening to Correction – The Complete Predictive Maintenance Workflow
Quick Access

Criticality Analysis Part 1: Why Criticality Analysis Is the First Step Toward Maintenance Maturity

Criticality Analysis Part 2: The Criticality Dilemma – So Many Assets, So Little Time

Criticality Analysis Part 3: Beyond “Critical” – A Better Way to Classify Your Assets

Criticality Analysis Part 4: What Maintenance Teams Can Learn From Healthcare Triage

Criticality Analysis Part 5: Tiered Maintenance – Matching Tools and Talent to Asset Risk

Criticality Analysis Part 6 : From Screening to Correction – The Complete Predictive Maintenance Workflow
In Part 5, we explored how tiered maintenance helps match tools and talent to asset criticality. But how do all those pieces fit together in day-to-day operations? How do you go from identifying a problem to getting the machine back online?
In this final post of the series, we’ll walk through the complete predictive maintenance workflow—from first signs of trouble to final verification.
A Complete Maintenance and Repair Workflow
To keep operations up and running, you will need to know all the tools that make up the maintenance chain. Multiple tools used together are more than the sum of their parts.
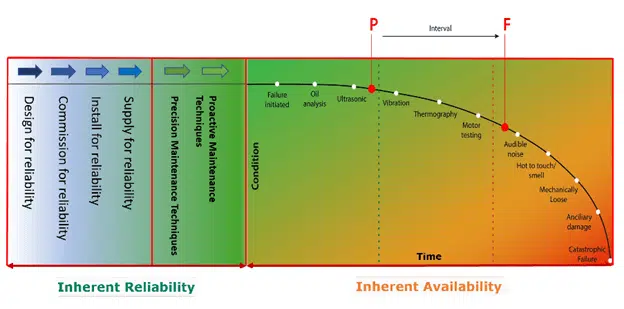
Consider Figure 1, which follows a typical maintenance workflow from left to right.

Screen
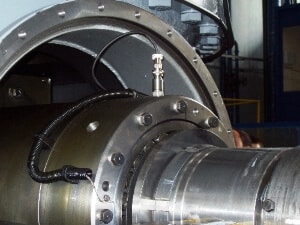
First, screen the machines to discover which are operating correctly and those that are not. A thermal imaging camera or sensor, electrical tool, or vibration meter or sensor can indicate which assets have problems.
Diagnose
Second, diagnose the machine faults and, more importantly, determine a repair recommendation.
Correct
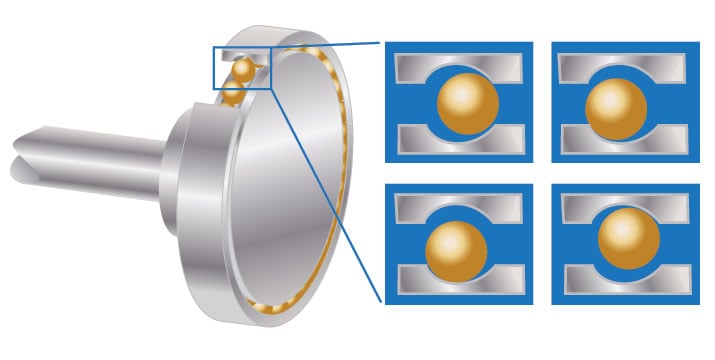
Third, correct the problem. Just as one example of correction tools, a laser shaft alignment tool may help eliminate vibration caused by misalignment. Fifty percent of machine faults can be directly linked to misalignment, and most customers ignore misalignment because they believe alignment correction is time consuming and difficult to execute. They may not think they need to align machines because they use flexible couplings, so they do not correct misalignment. Instead, they replace bearings and seals and experience energy loss.
Validate
For the last step, examine the machine to ensure that the repair is good and return the machine to service.
This workflow brings together everything covered in the series—from prioritization to tiered tool usage. It provides structure, clarity, and confidence that you’re not just fixing symptoms, but addressing the root cause of failures.
Wrapping Up the Predictive Maintenance Series
Building a predictive maintenance program doesn’t happen overnight. But by taking it step by step—from criticality analysis to tiered maintenance to full workflows—you can move your team from reactive firefighting to proactive reliability.
This series has focused on giving you a practical framework:
- Prioritize what matters most
- Use your resources wisely
- Apply the right tools and expertise at the right time
Whether you’re just starting out or refining an existing program, the goal is the same: fewer surprises, better performance, and more time spent on the work that moves your operation forward.
Author Bio: John Bernet is a Mechanical Application and Product Specialist at Fluke Corporation. Using his 30-plus years of experience in maintenance and operation of nuclear power plants and machinery in commercial plants, John has worked with customers in all industries implementing reliability programs. He is a Certified Category II Vibration Analyst and a Certified Maintenance Reliability Professional (CMRP), with over 20 years of experience diagnosing machine faults.


